Common RTA Cabinets Assembly Mistakes and How to Avoid Them
Ready-to-assemble (RTA) cabinets are a cost-effective and convenient solution for many homeowners and contractors. They offer the flexibility of DIY installation and can save time and money on kitchen remodels or other cabinetry projects. However, assembling RTA cabinets does come with a learning curve. Avoiding common mistakes during the assembly process can help you get professional results and prevent costly do-overs.
At Cabinet Design and Outlet, we specialize in RTA cabinets from trusted brands like JSI cabinetry, and we’ve seen firsthand which errors tend to trip people up the most. Whether you're assembling a full kitchen or working with discounted outlet pieces, here are some of the most common assembly mistakes—and how to avoid them.
1. Not Reading the Instructions Thoroughly
This might seem obvious, but it's one of the most common pitfalls. RTA cabinets come with specific instructions for a reason. Even if you’ve assembled cabinets before, every manufacturer may use different components or steps.
How to avoid it: Take a few minutes to review the instruction manual before you begin. Lay out all the parts and make sure you understand the process start to finish. If you’re working with JSI cabinetry, we offer a collection of step-by-step assembly videos right on our website to help guide you through the process.
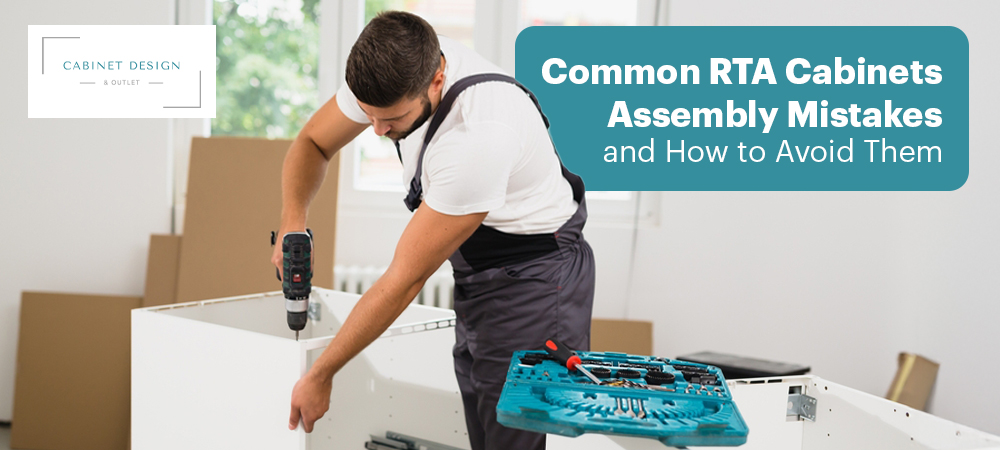
2. Using the Wrong Tools
Trying to force pieces together with the wrong tools can damage panels, strip screws, or lead to an unstable cabinet. Power tools are convenient, but they’re not always the best option.
How to avoid it: Check the recommended tools in the instruction guide. Often, a screwdriver and rubber mallet are sufficient. If you use a drill, set it to a low torque setting to avoid overtightening screws.
3. Rushing the Process
In an effort to save time, some people skip steps or try to assemble cabinets too quickly. This can lead to crooked joints, misaligned doors, or even structural failure.
How to avoid it: Set aside uninterrupted time to work on your RTA cabinets. Work in a clean, open space where you can spread out the parts. Take your time and double-check your work as you go.
4. Misidentifying Parts
RTA cabinet kits often include many similar-looking panels and hardware. It’s easy to confuse left and right sides or top and bottom panels.
How to avoid it: Before you begin, lay out all the parts and label them with painter’s tape. Match each part with the corresponding step in the instructions. This simple step can prevent major assembly headaches.
5. Improper Fastening
Using the wrong fasteners or failing to secure pieces correctly can lead to loose joints or cabinet failure down the line.
How to avoid it: Use only the hardware provided in the kit. Make sure fasteners are tight, but not overtightened. Always check for flush edges and square corners before moving on to the next step.
6. Skipping Pre-Assembly Checks
Sometimes, issues arise because parts were damaged during shipping or missing from the box. Discovering this halfway through assembly can bring everything to a halt.
How to avoid it: Before you begin, inspect every piece. Look for cracks, chips, or warping. Count all the hardware and compare it to the inventory list. Contact the supplier right away if anything is missing or damaged.
Conclusion
RTA cabinets offer great value, but the quality of the final result depends on careful assembly. By avoiding these common mistakes, you’ll ensure your cabinets are sturdy, aligned, and built to last. At Cabinet Design and Outlet, we proudly offer JSI cabinetry in both assembled and unassembled options, along with a wide selection of outlet pieces for budget-conscious projects.
Need help along the way? Check out our full library of assembly videos to guide you step by step. We’re here to make your cabinet project a success from start to finish.